Supermarket Simulator on Mac: Working Methods And Performance
How To play Supermarket Simulator on Mac? Supermarket Simulator is a game that lets you pretend you are running a supermarket. You engage in activities like restocking items and helping customers, but, for anyone using a Mac computer, the game doesn’t naturally work on it. So, if you’re a Mac user and want to get…

Fall Guys on Mac – Working Methods And Performance
Fall Guys on Mac Fall Guys is a super fun game that lots of people love to play in 2024. It’s all about these cute characters running through crazy obstacles and challenges in a colorful and silly world. Right now, you can play Fall Guys on PlayStation and PC, but what about if you have…

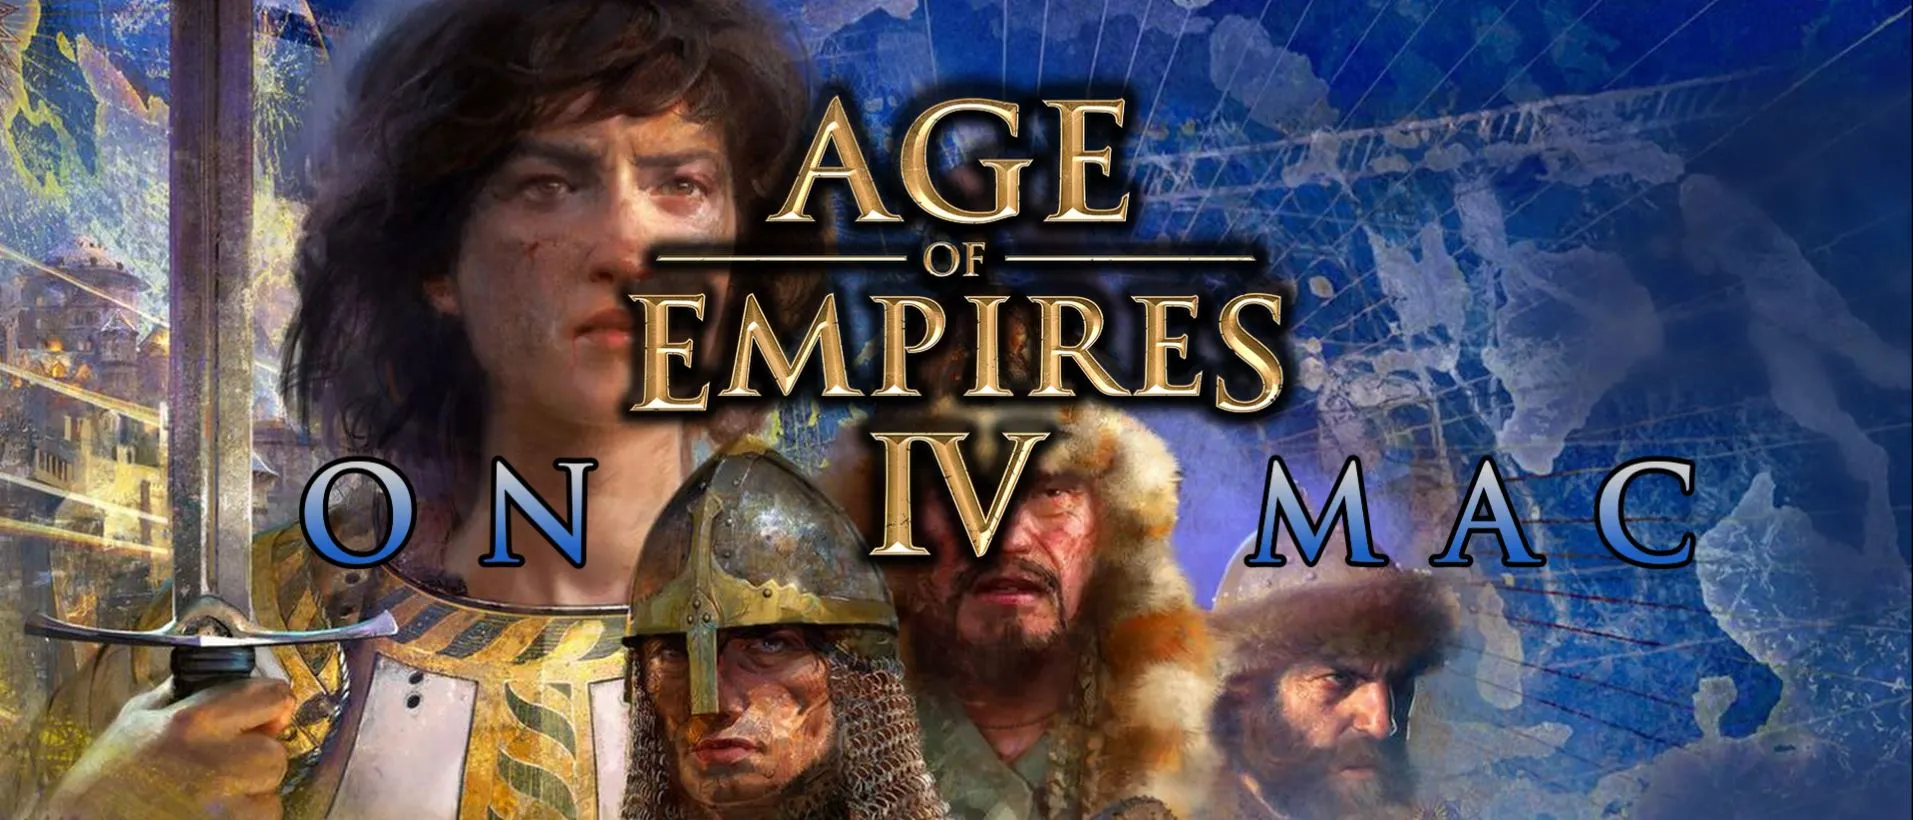
Age of Empires 4 on Mac – Working Methods and Performance
Some of us are big fans of real-time strategy games, so finding a valid way to play Age of Empires 4 – one of the best modern RTS games – on our Macs was an absolute must. Needless to say, the game lacks native macOS support so, once again, we had to improvise and look…

Balatro On Mac – Working Methods And Performance
Can You Play Balatro On Mac? Playing Balatro on Mac might seem as tricky as bluffing your way through a high-stakes poker game. But just like finding that perfect hand, we’ve discovered some neat methods to get you playing this thrilling card game that’s all about bending the rules of poker. We’ve taken these methods…

Last Epoch On Mac – Working Methods And Performance
Can You Play Last Epoch On Mac? If you’re eager to play Last Epoch on Mac, you should know that, initially, there was support for a MacOS client, but Apple’s shift to ARM-based Macs in 2020 brought the discontinuation of Mac support for the game. However, we were keen on experiencing Last Epoch on Mac,…

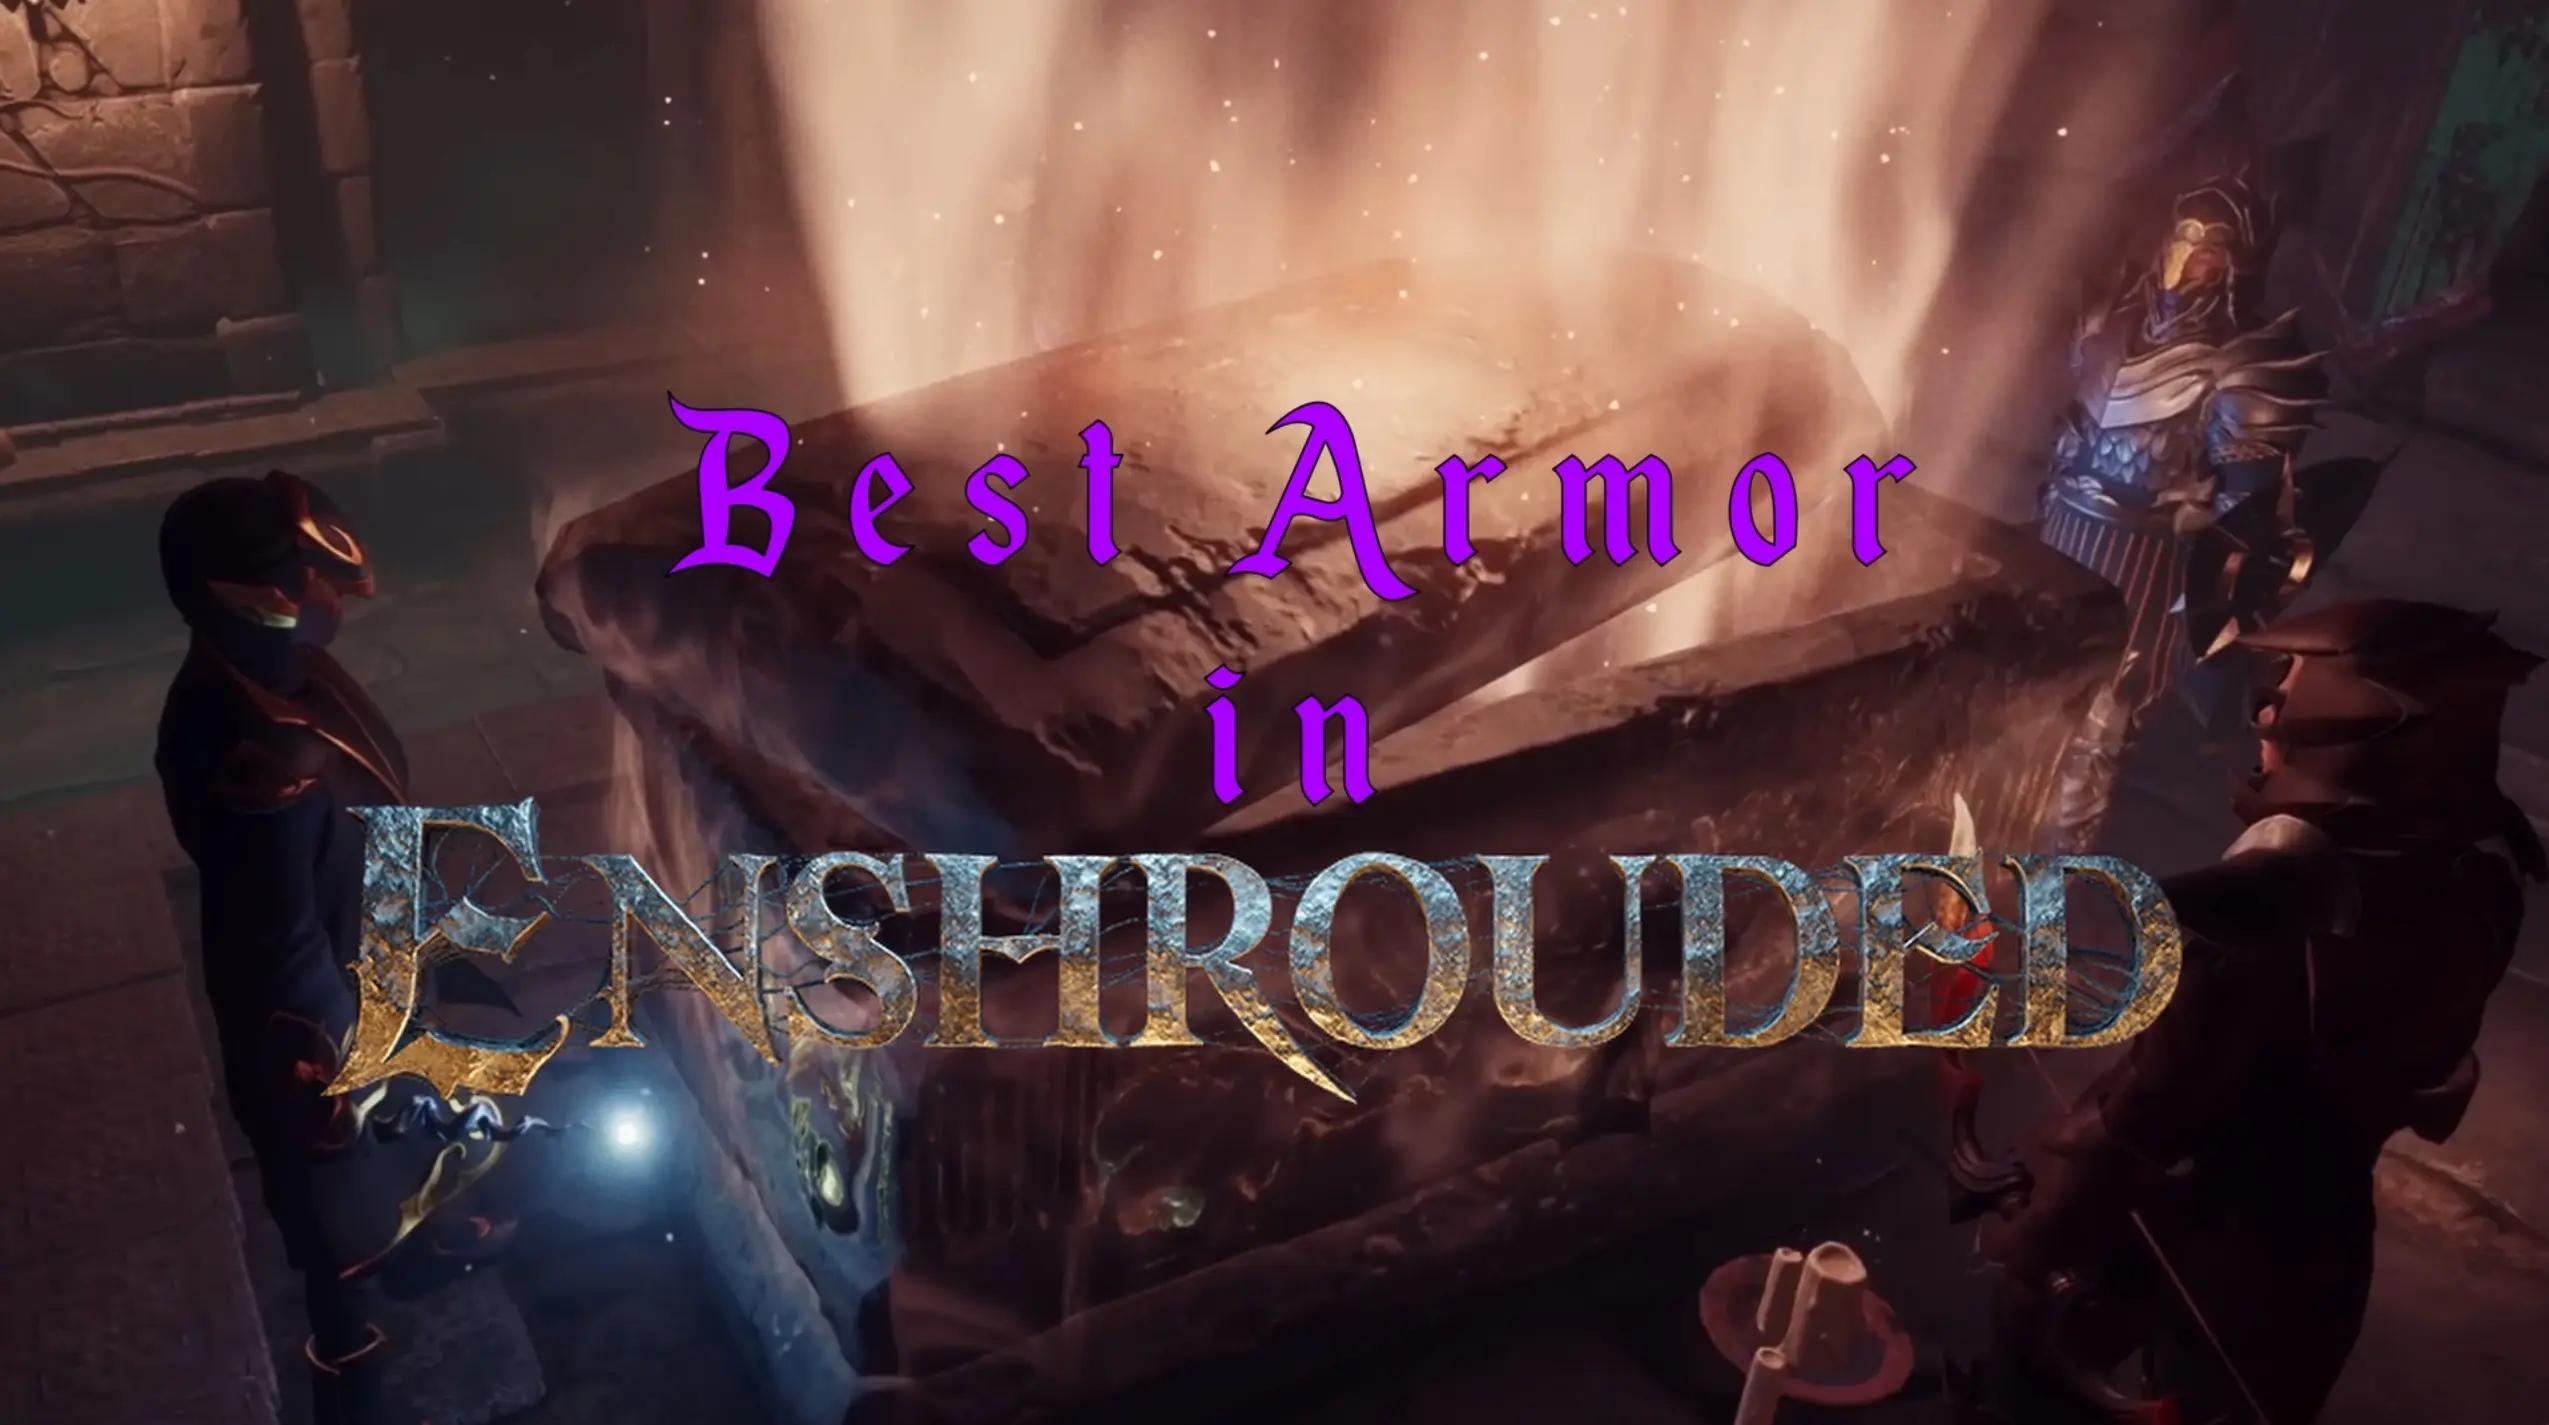
Best Enshrouded Armor Sets
Armor Sets In Enshrouded As you advance through the world of Enshrouded, you’ll come across a wide array of armor sets, each offering unique bonuses and protection. Crafted from materials gathered during your adventure, these armor sets cater to various playstyles, whether you prioritize defense, magic, or specialized abilities. In this guide, we’ll provide a…

Palworld Breeding Combos
Breeding in Palworld has evolved into a fascinating strategy game within itself, especially as you venture deeper into your journey. If you’ve clocked in around 30-50 hours and are just beginning to explore the complex world of breeding pals, here’s a piece of advice that might just change your whole approach: stop sweating over finding…

Enshrouded Weapons – All You Need To Know
Enshrouded offers a wide variety of weapons, giving players the freedom to tailor their playstyle to their preferences. So, be sure that there’s a weapon perfectly suited to your style waiting to be discovered. Let’s delve into the finest Enshrouded weapons and explore what sets them apart. Enshrouded Best Weapons That You Should Wield In…
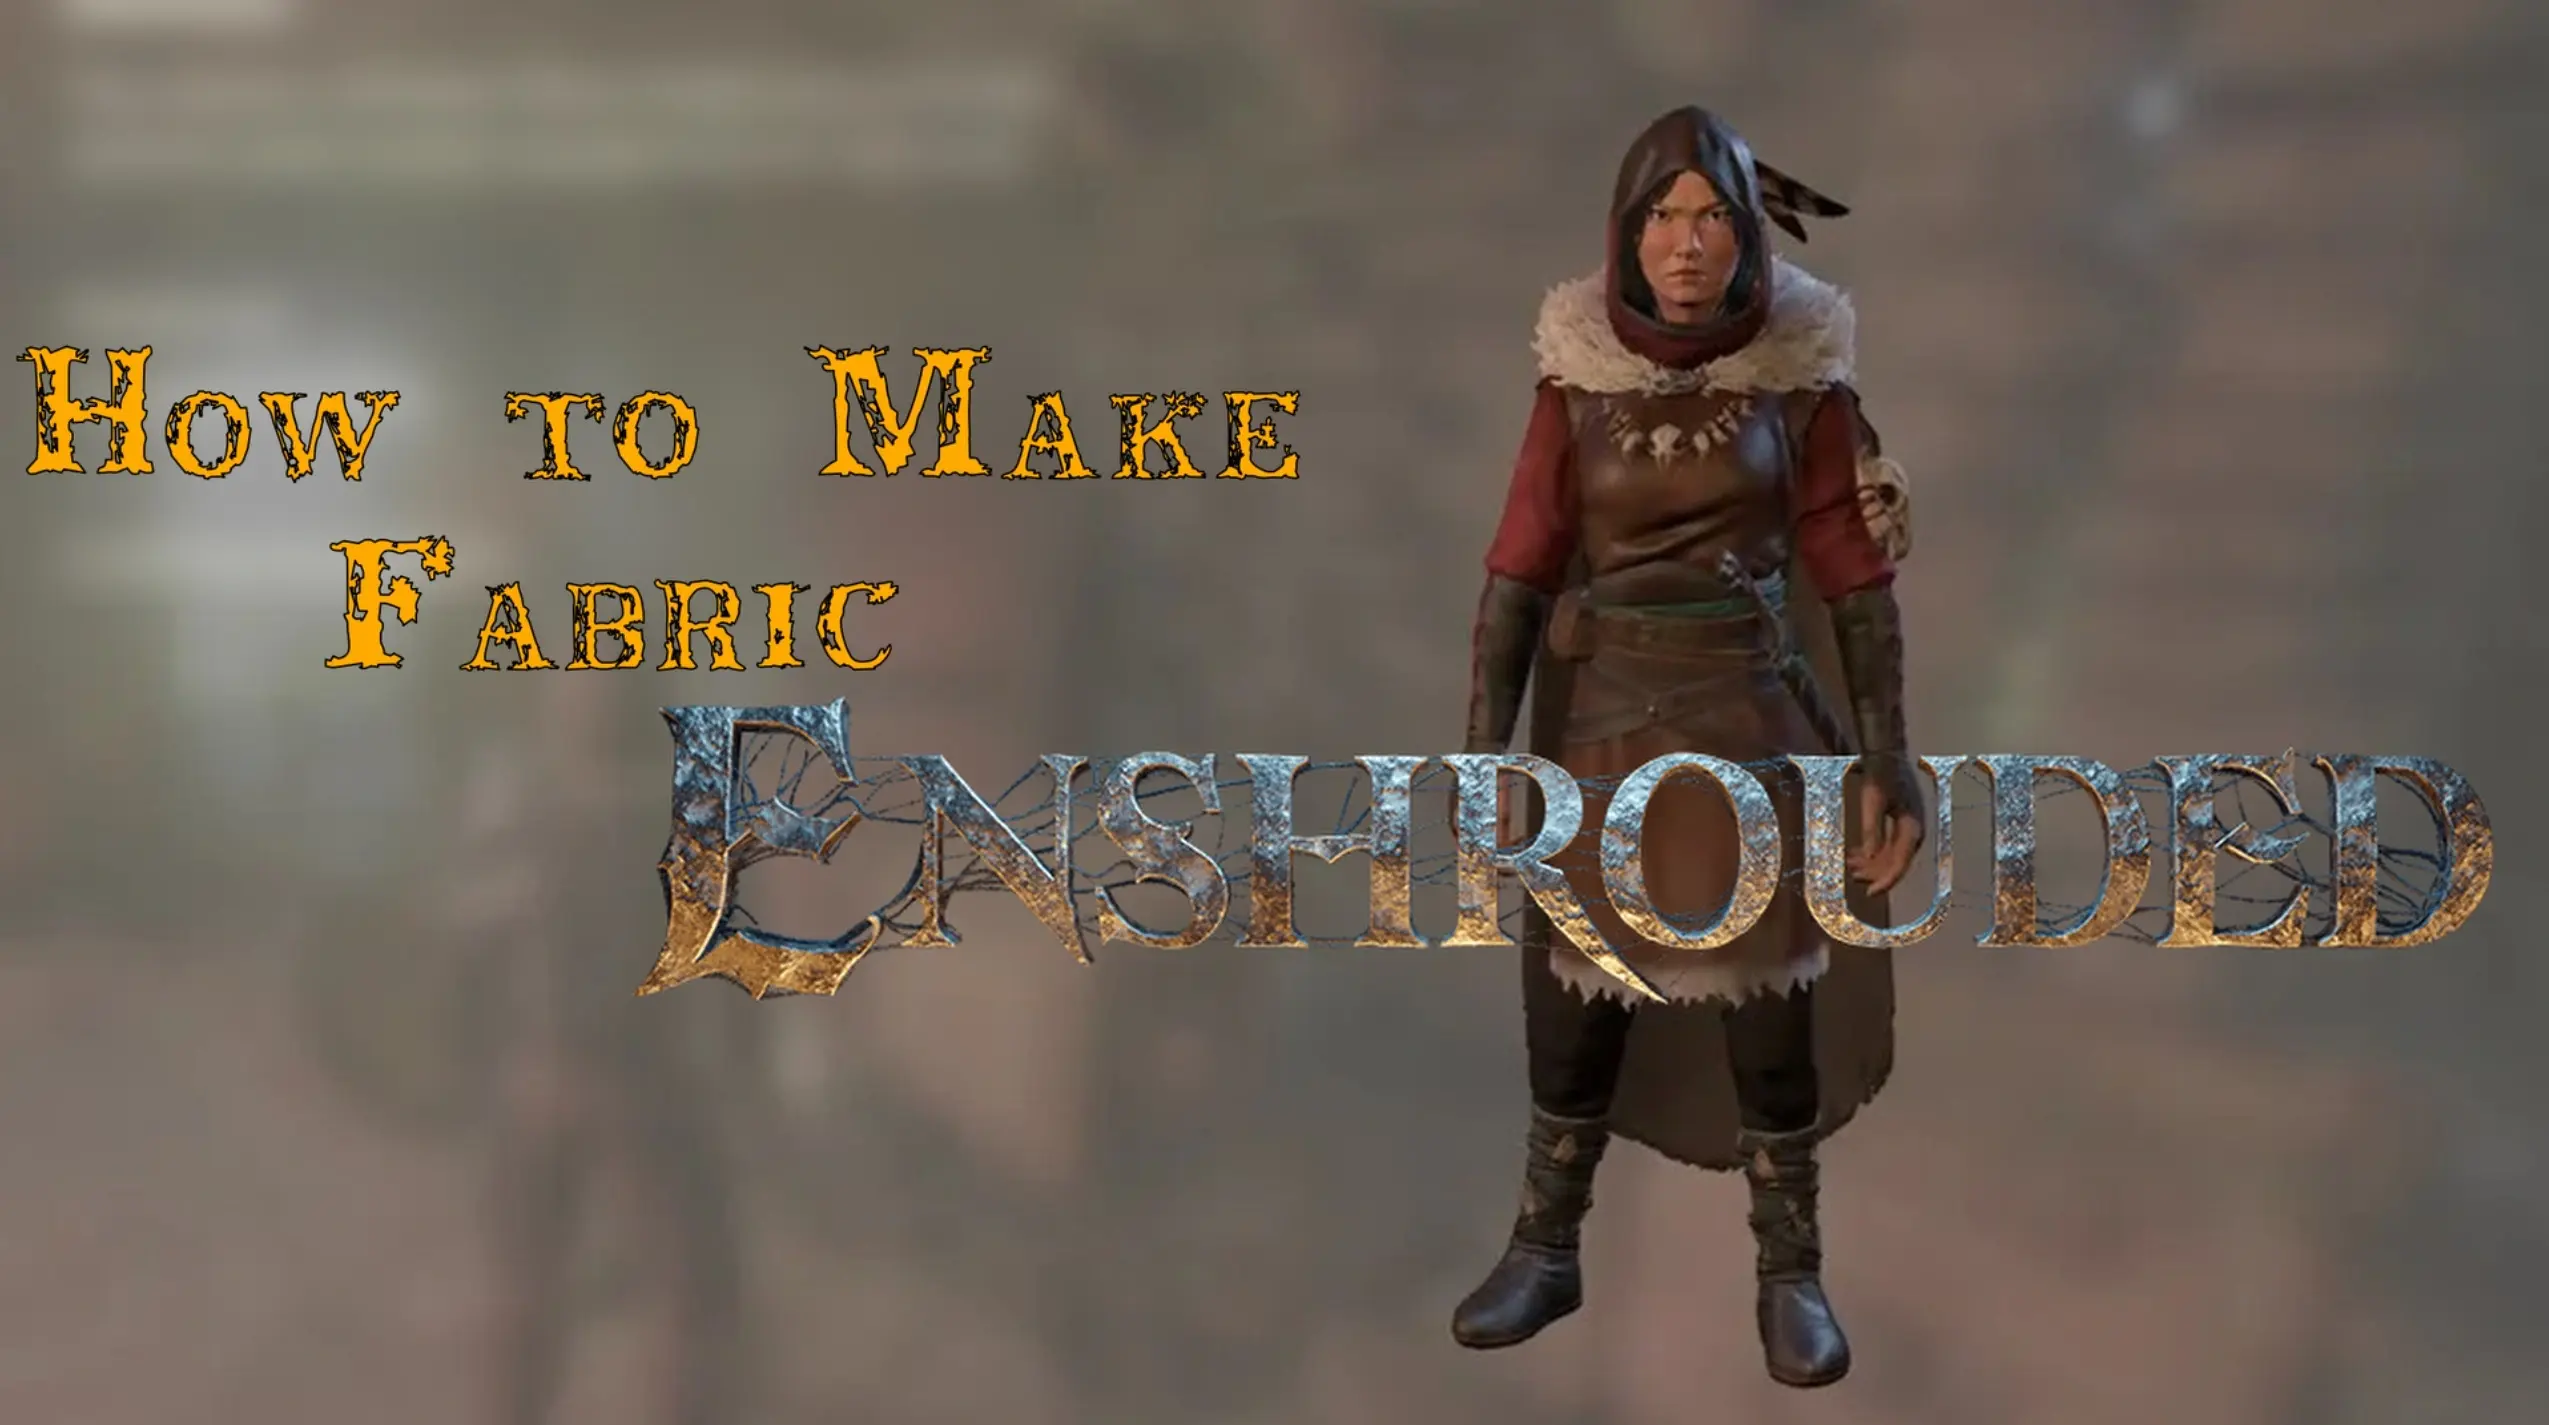
Enshrouded Fabric – How To Make It
Mastering the ways of making Enshrouded Fabric is essential for adventurers looking to thrive in the game’s challenging environments. In this guide, we’ll explain the methods and steps required to create this valuable material, so players can excel in their endeavors within Enshrouded’s captivating universe. Enshrouded Yellow Fabric: Weaving Warmth and Elegance Enshrouded Yellow Fabric…

Palworld IV
Did you know that, in the world of Palworld, the adventure extends beyond the surface into the very genetics of your companions, the pals? As seasoned players might have observed, not every pal stands on the same ground when it comes to their capabilities. While it’s evident that pals from varied species showcase significant differences…