Parallels Desktop for Mac Overview
Parallels Desktop for Mac is an innovative virtualization software that enables users to operate multiple operating systems, such as Windows, Linux, and Google Chrome OS, on an Apple Mac device. This software has gained popularity among Mac users who require access to Windows applications or games that are unavailable on macOS. It allows them to effortlessly switch between operating systems without rebooting or using multiple computers, eliminating the need for dual-booting options like Boot Camp Assistant, which is incompatible with M1 Macs and consumes considerable storage space.
To begin using Parallels Desktop for Mac, first, download the compatible installation file for your Mac’s processor (Intel or Apple M1) from the official website. Following installation, launch the application from the Applications folder and create a new virtual machine (VM). This VM acts as a separate window on your Mac desktop, allowing you to run your preferred operating system and utilize it as if it were an independent computer.
What is a Parallels Windows virtual machine?
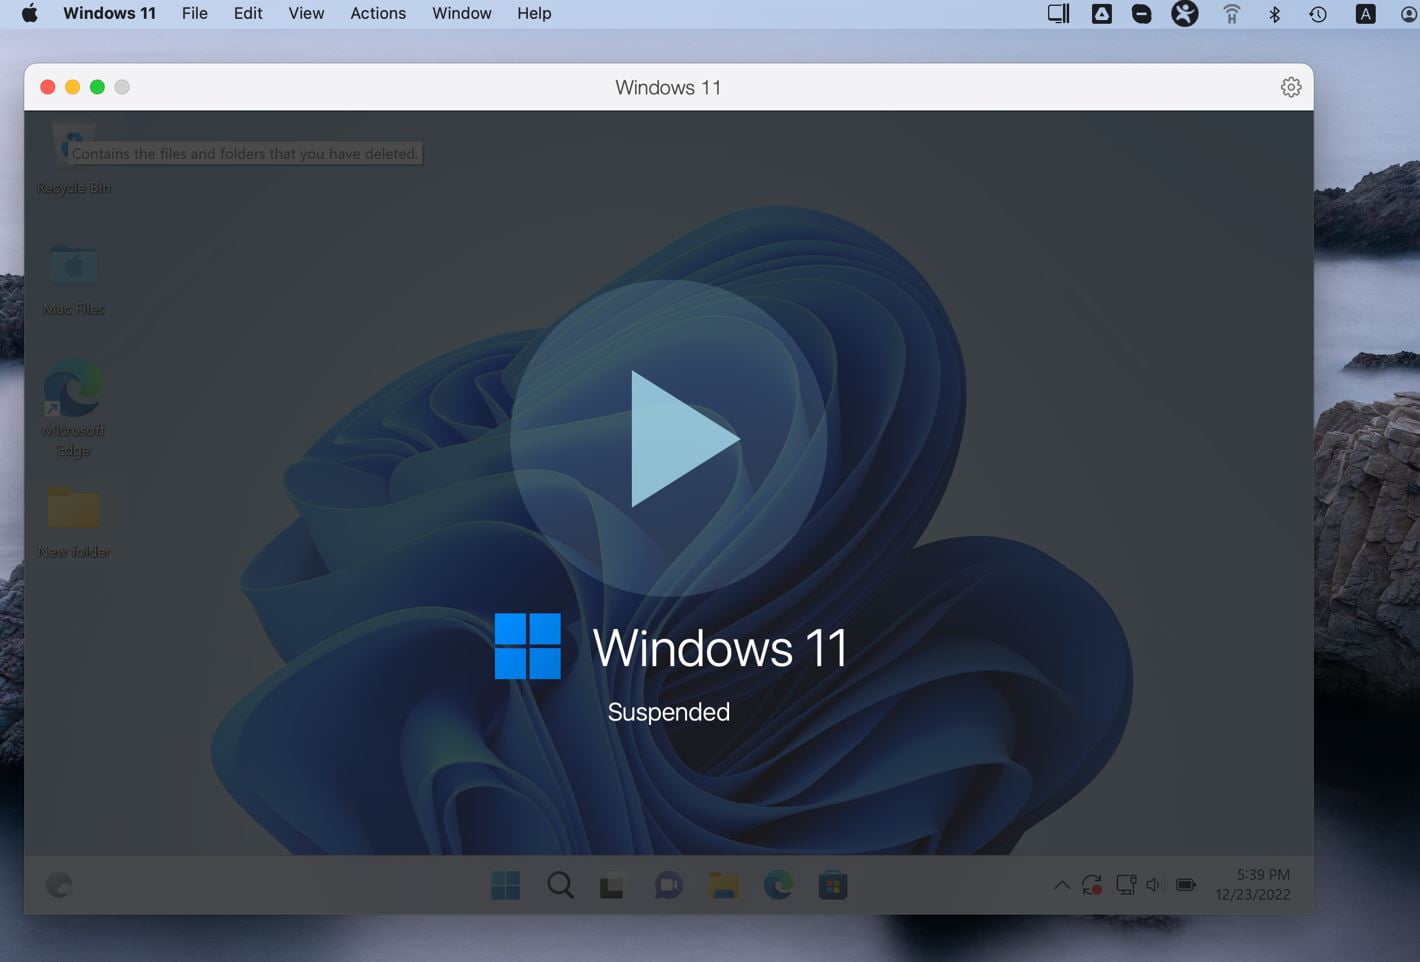
A Parallels Windows Virtual machine is like an app installed on your Mac that contains the entire Windows OS and functions exactly like it. A Parallels VM offers a seamless experience, akin to operating two computers simultaneously. Users can effortlessly transition between macOS and Windows environments without restarting the device, ensuring access to their preferred Windows applications and games without affecting the performance or stability of their macOS system. When Windows is initiated through Parallels Desktop, it functions within an individual window, similar to other macOS applications. Users can navigate Windows, install software and games, and execute various tasks typically performed on a Windows PC.

Parallels Desktop for Mac presents users with multiple modes to accommodate their preferences. Coherence mode enables guest and Mac applications to function concurrently in a unified window, Full Screen mode delivers an immersive guest desktop experience, and Modality permits users to adjust and customize virtual machine windows overlaying their macOS interface. For organizations, Parallels Desktop for Mac Business Edition offers centralized deployment and management capabilities, facilitating streamlined Windows VM delivery for IT administrators. Additional features in this edition include update server integration, security measures such as implementing USB thumb drive device policies, and limitations on users altering VM settings or generating new VMs. Overall, Parallels Desktop for Mac serves as a robust solution for users requiring the functionality of multiple operating systems on their Mac devices, providing a seamless and efficient user experience.
How to install Parallels on Mac (M1, M2, and Intel)
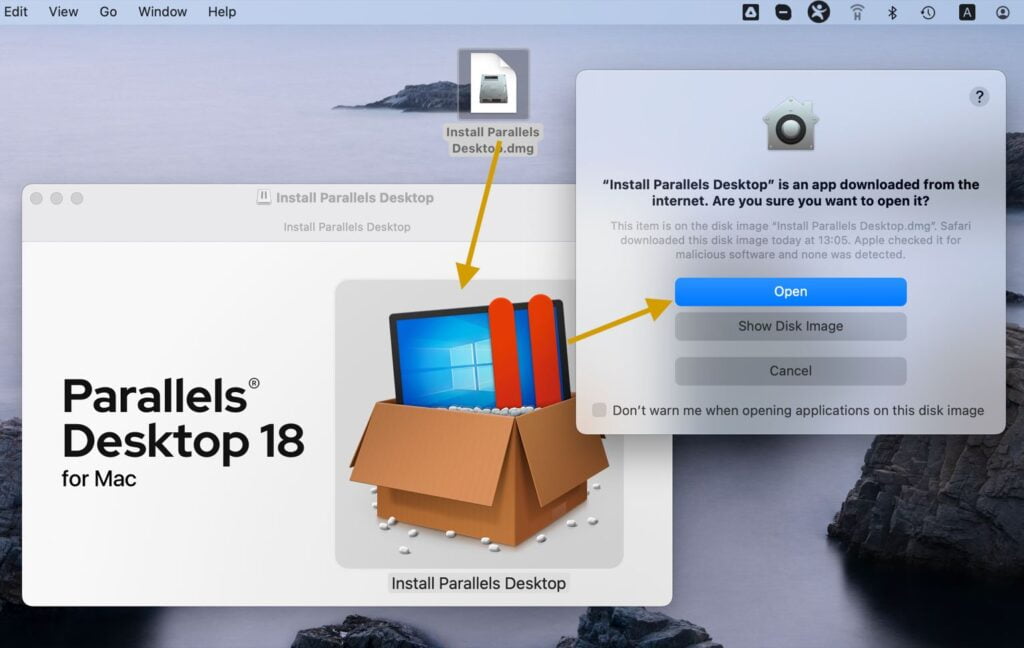
To get started with Parallels Desktop, first, pay a visit to the Parallels website and grab the Free Trial download. Once you’ve downloaded the .dmg installation file, double-click it to mount it in Finder, and then proceed to double-click Install. A Software License Agreement will pop up—make sure to read it thoroughly before clicking Accept.

You’ll be prompted for your local Mac user password to proceed with the installation. Input your password and watch as Parallels Desktop installs itself onto your Mac. After installation, you may be asked to accept a license agreement or grant necessary permissions—just follow the on-screen instructions.
In no time, you’ll have Parallels Desktop installed, paving the way for you to enjoy Windows applications on your Mac without any hassle. So, why wait? Give it a try and experience the best of both worlds right at your fingertips!
How to install Windows (10, 11) on Mac with Parallels Desktop
As you’ll see in a moment, it’s really easy to install Windows 11 on Mac with Parallels Desktop. On the other hand, if you want to get Windows 10 through Parallels, there are some extra steps that need to be completed, but with the help of the following guide, completing this process shouldn’t be difficult.
Step 1: Installing the VM
Parallels Desktop will display the option to install Windows 11. If you’d like to continue with Windows 11, follow the instructions based on your type of Mac:
- Intel Macs: Click on the Parallels icon that you’ll see in the menu bar, then choose the option labelled New, click on Get Windows 11 from Microsoft, and finally select Install Windows to begin the process.
- M1/M2 Macs: Click the Parallels icon that should be in the menu bar, go to the Parallels Control Center, hit the + button, pick Get Windows 11 from Microsoft, then click Continue, and launch the installation process by selecting Install Windows.
If you’d rather install Windows 10, keep in mind that this is only possible on an Intel Mac due to the incompatibility between Apple Silicon chips’ ARM architecture and Windows 10. To begin, follow these steps:
Installing Windows 10 on Mac with Parallels
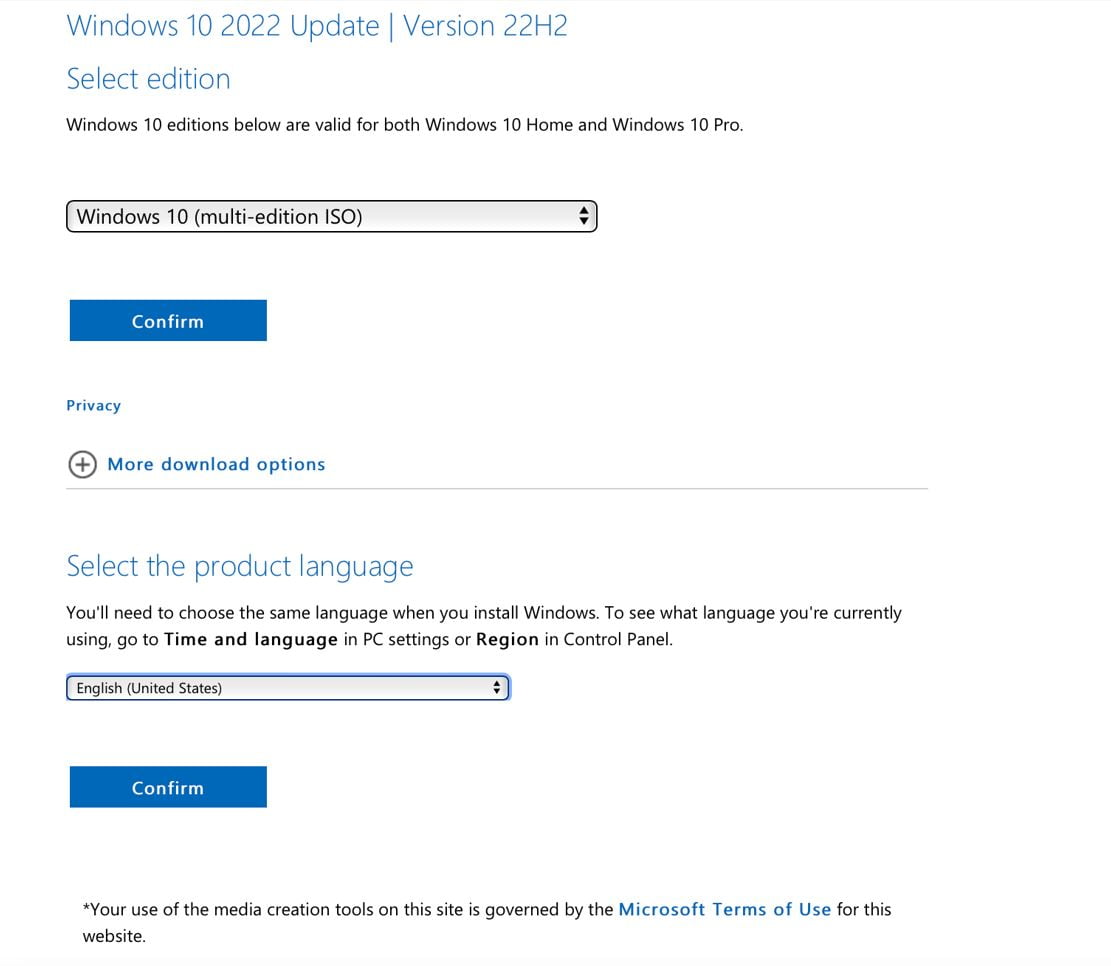
- Visit Microsoft’s download page, pick the Windows 10 edition (we suggest the Home edition) and language, and hit the 64-bit Download button. Save the Windows 10 ISO file on your Mac.

- Launch Parallels Desktop, click the menu bar icon, and choose New. If asked to install Windows 11, select Skip. Opt for Install Windows or another OS from DVD or image file. Parallels should automatically locate the downloaded ISO file. Choose it to proceed with the installation and click Continue. If the file isn’t detected automatically, click Choose Manually, find the file in Finder, and drag-and-drop it into Parallels. Then, click Continue.
- Enter your Windows 10 license key if you possess one; otherwise, click Continue and then Skip. Select the specific Windows 10 edition you wish to install and click Done.
- Choose an optimization setting based on your main use for the virtual machine (VM) and click Continue. Check the VM name and installation location, adjusting them if necessary. If you want to modify the default VM settings before installation, tick the Customize settings before installation option. Keep in mind, you can always tweak these settings later.
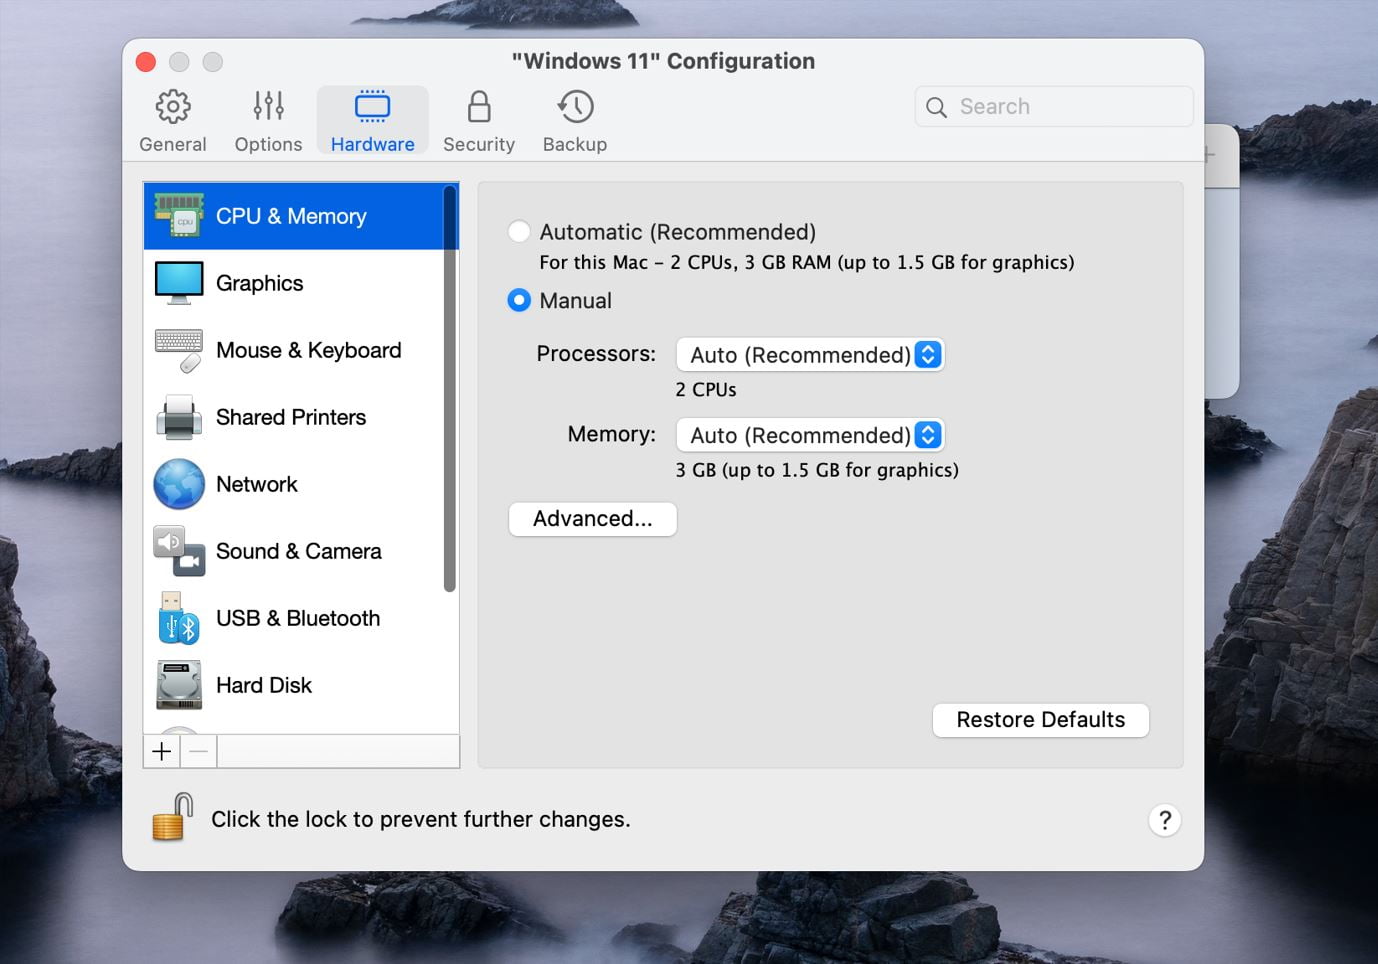
- For those who opt to customize settings, navigate to the Hardware tab and pick CPU & Memory. To unlock these settings, click the padlock icon and input your password. Choose the Manual option and allocate extra RAM and CPU cores to the VM. This is especially beneficial for gaming, as increased power leads to improved performance. Parallels will automatically restrict CPU and RAM allocation to ensure your macOS has sufficient resources.

- You can always return to these settings even after the installation of the VM by opening Parallels, clicking its icon from the top-right in the menu bar, selecting Control Center, and then clicking the Gear icon.
- When you’re ready to proceed, click Create and then Continue to start the installation. After a short while, the VM will be created and appear on your screen.
Step 2: Sign in or set up a Parallels account
Before utilizing the VM, you must sign in or create a Parallels account. Alternatively, you can log in using your Google, Facebook, or Apple ID. Once you have successfully logged in, the VM will be accessible, and you can begin exploring and using it.
Step 3: Install necessary software and updates
Once your Windows virtual machine is up and running, it’s important to install any required software and updates to ensure a seamless experience. Visit the official websites for the software you need, download the latest versions, and follow the installation instructions.
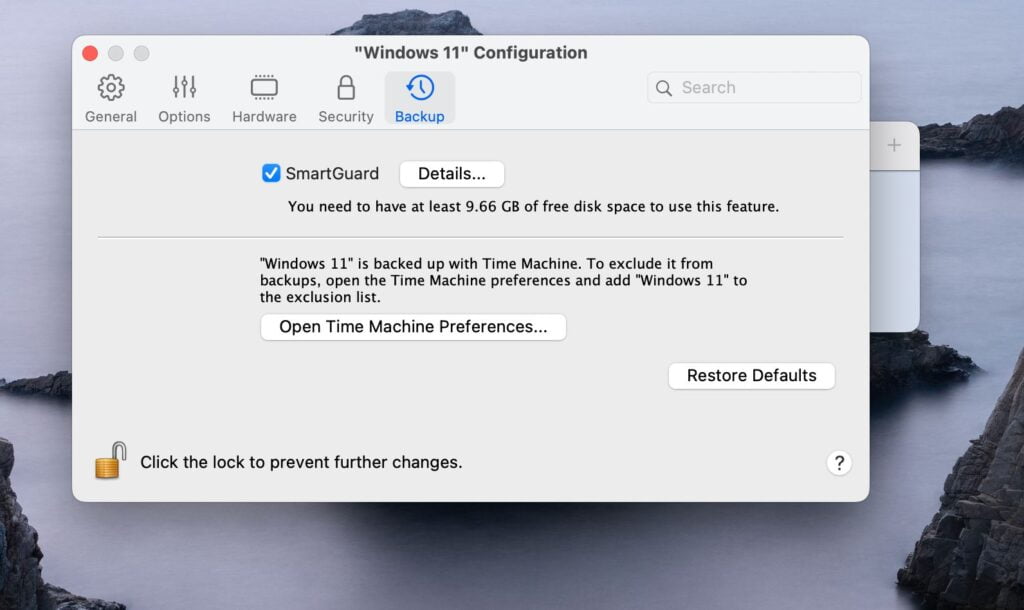
Step 4: Create backups (recommended)
It’s a good idea to create backups of your virtual machine regularly. This ensures that you can quickly recover your data in case of any issues or loss. Parallels Desktop offers a snapshot feature that enables you to save the current state of your VM and revert to it if necessary.
Step 5: Enjoy your new Windows experience on your Mac
Now that your Windows virtual machine is fully set up and customized, you can start using Windows applications, games, and features alongside your macOS. Experience the best of both worlds on your Mac with the help of Parallels Desktop!
With these comprehensive steps, you can effortlessly install and run Windows 10 and Windows 11 on your Mac using Parallels Desktop. So, go ahead and enjoy the versatility and power of having two operating systems at your fingertips!
How to use Parallels on Mac
If you’re looking to use Parallels Desktop on your Mac, it’s important to familiarize yourself with some essential tips and tricks to make the most of this powerful virtualization software. By following these suggestions, you’ll be able to operate multiple operating systems with ease and efficiency.
One handy feature when using Parallels Desktop is the ability to effortlessly transition between your virtual machine (VM) and macOS. To do this, you can swipe left or right on your trackpad using three fingers or utilize the Command + Tab keyboard shortcut. This simple gesture allows you to navigate between the VM and macOS quickly and seamlessly.
As you begin using Parallels Desktop, you may find that you need to adjust the VM configuration after the initial setup. To modify the settings, first, ensure that the VM is running. Then, navigate to the Windows Start Menu and select the shutdown option. Once Windows has shut down, click the Parallels icon in your macOS menu bar, followed by the Control Center, and finally the Settings icon. This will enable you to access and customize the VM settings to your liking. Remember that you may need to shut down the VM from the Start Menu to alter certain settings.
When you’re ready to quit the VM, you have a couple of options. You can either exit from within Windows or switch back to your macOS environment and close the VM from the Dock or the menu bar. This flexibility makes it easy to manage your virtual machines according to your preferences.
We hope these tips have been helpful in getting you started with Parallels Desktop on your Mac. If you have any questions or need clarification on any aspect of the program, feel free to leave a comment below. We’re more than happy to help. Additionally, we’d love to hear about your experiences with Parallels. Let us know how well it has worked for you and any other valuable insights you’d like to share. By exchanging knowledge and experiences, we can all make the most of this remarkable software and enhance our productivity.
Leave a Reply